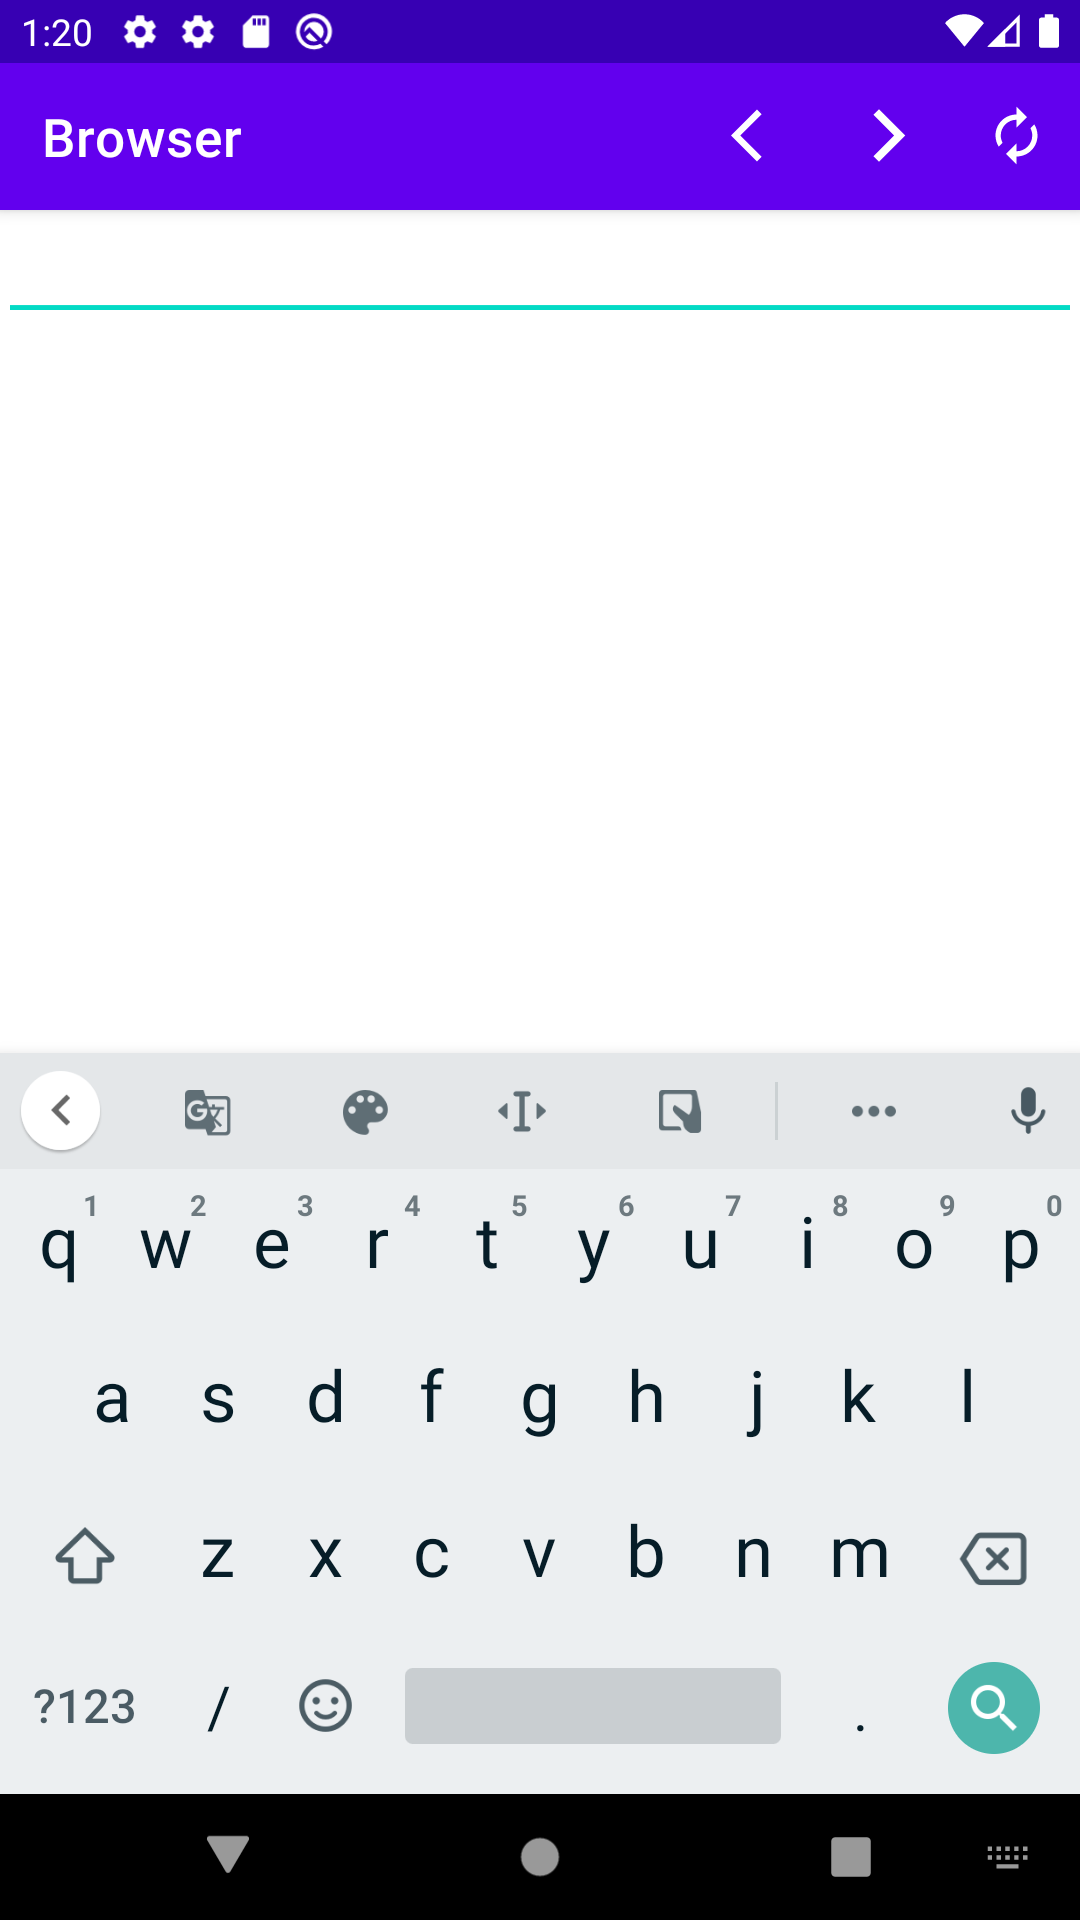
웹뷰를 이용해서 하기와 같은 간단한 브라우저를 만들어 봅니다.
1. 화면 구성하기.
- XML 편집기를 사용해서 URL 입력을 받을 EditText 를 붙여줍니다.
- 웹뷰는 하단에 구성하는 것이 주요 포인트 입니다.
- 버튼은 gone 처리로 화면에 보이지 않습니다. 다만 해당 버튼의 기능을 코드에서 사용하기 위해서 넣어두었습니다.
<?xml version="1.0" encoding="utf-8"?>
<androidx.constraintlayout.widget.ConstraintLayout xmlns:android="http://schemas.android.com/apk/res/android"
    xmlns:app="http://schemas.android.com/apk/res-auto"
    xmlns:tools="http://schemas.android.com/tools"
    android:layout_width="match_parent"
    android:layout_height="match_parent"
    tools:context=".MainActivity">

    <EditText
        android:id="@+id/urlText"
        android:layout_width="match_parent"
        android:layout_height="wrap_content"
        android:gravity="left"
        android:imeOptions="actionSearch"
        android:inputType="textUri"
        android:maxLines="1"
        app:layout_constraintEnd_toEndOf="parent"
        app:layout_constraintHorizontal_bias="0.0"
        app:layout_constraintStart_toStartOf="parent"
        app:layout_constraintTop_toTopOf="parent" />

    <Button
        android:id="@+id/button"
        android:layout_width="wrap_content"
        android:layout_height="wrap_content"
        android:onClick="move"
        android:text="Move"
        android:visibility="gone"
        app:layout_constraintEnd_toEndOf="parent"
        app:layout_constraintStart_toStartOf="parent"
        app:layout_constraintTop_toBottomOf="@+id/urlText" />

    <WebView
        android:id="@+id/webView"
        android:layout_width="match_parent"
        android:layout_height="0dp"
        app:layout_constraintBottom_toBottomOf="parent"
        app:layout_constraintEnd_toEndOf="parent"
        app:layout_constraintHorizontal_bias="1.0"
        app:layout_constraintStart_toStartOf="parent"
        app:layout_constraintTop_toBottomOf="@+id/button"
        app:layout_constraintVertical_bias="1.0">

    </WebView>
</androidx.constraintlayout.widget.ConstraintLayout>
- 하기 설정은 IME 창을 URL 주소를 입력할수 있는 기본 창으로 변경고, 엔터를 돋보기 버튼으로 변경시켜줍니다. URL 주소를 입력받기로 라인은 1줄로 고정합니다.
android:imeOptions="actionSearch"
android:inputType="textUri"
android:maxLines="1"
2. 웹뷰 설정.
- 웹뷰를 인플레이트(객체화) 시킨 후 setWebViewClient() 로 웹브라우저를 기본값으로 설정합니다.
기본값이라 함은 크롬에서 제공되는 기본 기능을 내장하고 있다는 의미이며, 개발자가 브라우저 기능 변경을 위해서는
WebViewClient 클래스를 상속 후 재정의 하면 됩니다.
@Override
protected void onCreate(Bundle savedInstanceState) {
    super.onCreate(savedInstanceState);
    setContentView(R.layout.activity_main);

    webView = (WebView) findViewById(R.id.webView);
    //웹뷰 설정을 한다.
    webView.getSettings().setJavaScriptEnabled(true);
    webView.setWebViewClient(new WebViewClient());
}
3. 입력받은 URL로 실제 이동하기
- IME 키보드에 입력된 값을 체크하기 위해서, EditText 에 리스너를 등록합니다.
- URL을 이동 시키는 함수를 콜 하고
- 이동이 완료된 후에는, 키보드 창을 내려줍니다.
@Override
protected void onCreate(Bundle savedInstanceState) {
    super.onCreate(savedInstanceState);
    setContentView(R.layout.activity_main);
    urlText = (EditText) findViewById(R.id.urlText);
    //IME 키보드의 키 입력을 감지함.
    urlText.setOnEditorActionListener(new TextView.OnEditorActionListener() {
        @Override
        public boolean onEditorAction(TextView textView, int id, KeyEvent keyEvent) {
            if(id == EditorInfo.IME_ACTION_SEARCH) {
                // URL이동함수 호출
                button.callOnClick();
                // 키보드 창 내려주기.
                InputMethodManager inputManager = (InputMethodManager)getSystemService(Context.INPUT_METHOD_SERVICE);
                inputManager.hideSoftInputFromWindow(urlText.getWindowToken(),0);
                return true;
            }
            return false;
        }
    });
    button = findViewById(R.id.button);
    webView = (WebView) findViewById(R.id.webView);
    //웹뷰 설정을 한다.
    webView.getSettings().setJavaScriptEnabled(true);
    webView.setWebViewClient(new WebViewClient());
}
- URL 이동 기능.
public void move(View view){
    String url = urlText.getText().toString();
    //https 를 붙이지 않았을경우, 자동으로 생성해주기.
    if(url.startsWith("https://")==false){
        url = "https://"+url;
    }
    webView.loadUrl(url);
}
4. 인터넷 권한 설정.
- 안드로이드 에서는 특정기능을 사용하기 위해서는 권한을 설정해야 합니다.
예를 들어 전화기능,인터넷 사용기능 역시 개발자가 앱에서 그 기능을 사용하기 위해서는 이러한 기능을 사용한다고 앱 에 명시를 한다는 의미이고, 그 명시를 AndroidMenifests.xml 파일에 기록합니다.
우리는 인터넷 기능을 사용하기에 하기 권한을 <manifest xmlns..> ... </manifest> 사이에 넣어주면 됩니다.
<uses-permission android:name="android.permission.INTERNET"/>이렇게 넣어준 코드는, 앱을 다운로드 받을때 유저들에게 이 앱은 인터넷에 접근하는 권한이 있다고 알려주게 됩니다.
여기까지 하면 기본 브라우저 기능이 완료 됩니다. 하지만, 앱을 실행해보면 하기와 같은 에러가 발생됩니다.
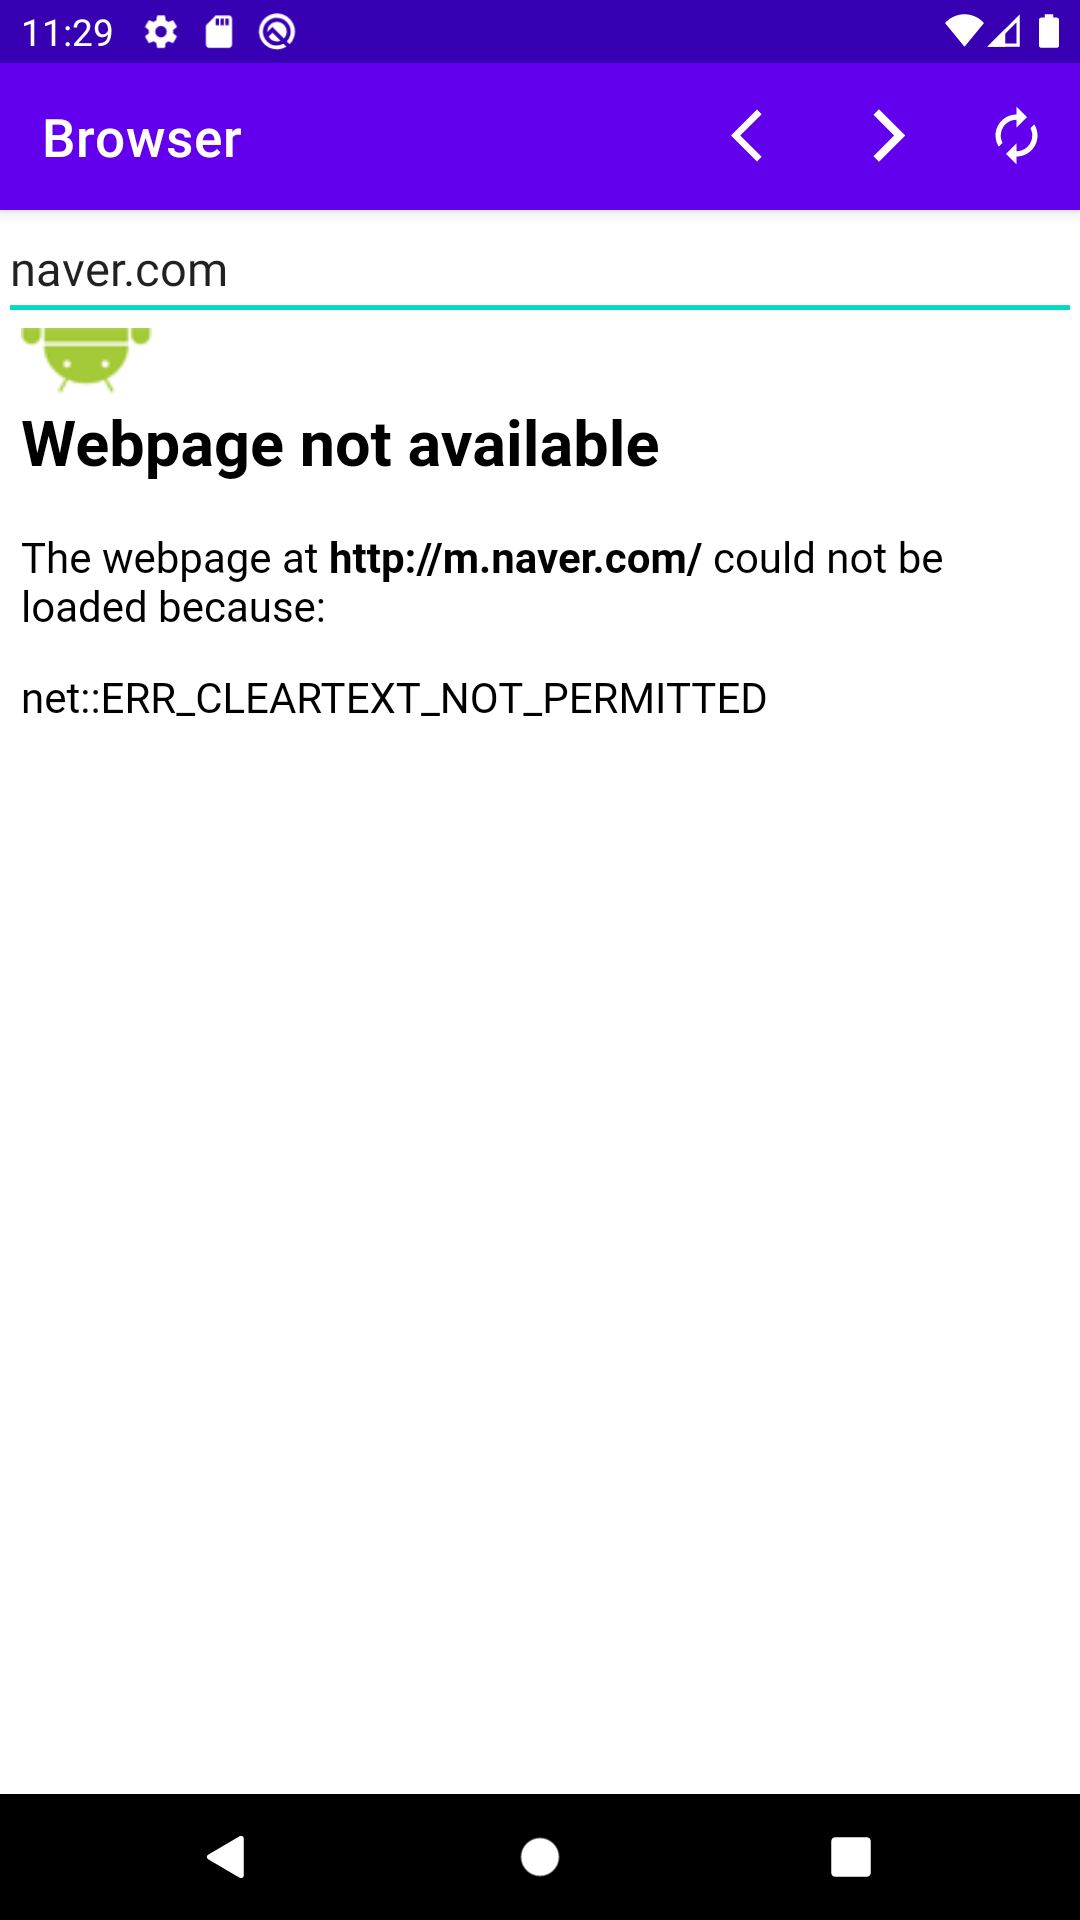
ERR_CREARTEXT_NOT_PERMITTED 의 수정은 하기 포스팅에 기재했습니다.
https://soo0100.tistory.com/1903
5. 백키 를 페이지 뒤로가기로 설정
- 백키를 재정의 하여 웹뷰에서 페이지 뒤로 가기를 설정합니다.
@Override //백키 재정의하기
public void onBackPressed() {
    //웹뷰의 히스토리 백이 있다면, 뒤로가기
    if(webView.canGoBack()){
        webView.goBack();
    }else
        super.onBackPressed();
}
6. 앞,뒤, 새로 고침 옵션메뉴 설정하기.
- 메뉴폴더 및 메뉴 xml 파일을 생성 후 하기 처럼 편집합니다.
<?xml version="1.0" encoding="utf-8"?>
<menu xmlns:app="http://schemas.android.com/apk/res-auto"
    xmlns:android="http://schemas.android.com/apk/res/android">

    <item
        android:id="@+id/pre"
        android:title="이전"
        android:icon="@drawable/ic_baseline_arrow_back_ios_24"
        app:showAsAction="always" />
    <item
        android:id="@+id/forward"
        android:icon="@drawable/ic_baseline_arrow_forward_ios_24"
        android:title="앞으로"
        app:showAsAction="always" />
    <item
        android:id="@+id/newMenu"
        android:icon="@drawable/ic_baseline_autorenew_24"
        android:title="새로고침"
        app:showAsAction="always" />
</menu>
(폴더 및 파일 생성은 하기 포스팅을 참고)
https://soo0100.tistory.com/1896
옵션 메뉴 만들기
상태표시줄에 옵션 메뉴를 만들어 보겠습니다. 옵션메뉴를 선택하면, 화면이 옵션메뉴에 따라 색상이 변경됩니다. 1. 옵션메뉴를 XML로 구성하기 위해서, res-menu 폴더를 만듭니다. res 폴더에서 마
soo0100.tistory.com
7. 옵션메뉴와 코드 연결
- 옵션메뉴의 동작을 위해서 코드와 연결합니다.
- 메뉴 인플레이션 과정 과 옵션 메뉴 함수 재정의 가 키포인트 입니다.
// 옵션메뉴를 코드와 연결시키기.
@Override
public boolean onCreateOptionsMenu(Menu menu) {
MenuInflater inflater = getMenuInflater();
inflater.inflate(R.menu.menu, menu);
return true;
}
// 옵션메뉴 클릭시 동작 시키기
@Override
public boolean onOptionsItemSelected(@NonNull MenuItem item) {
switch(item.getItemId()) {
case R.id.pre:
if(webView.canGoBack())
webView.goBack();
break;
case R.id.forward:
if(webView.canGoForward())
webView.goForward();
break;
case R.id.newMenu:
webView.reload();
break;
default:
break;
}
return super.onOptionsItemSelected(item);
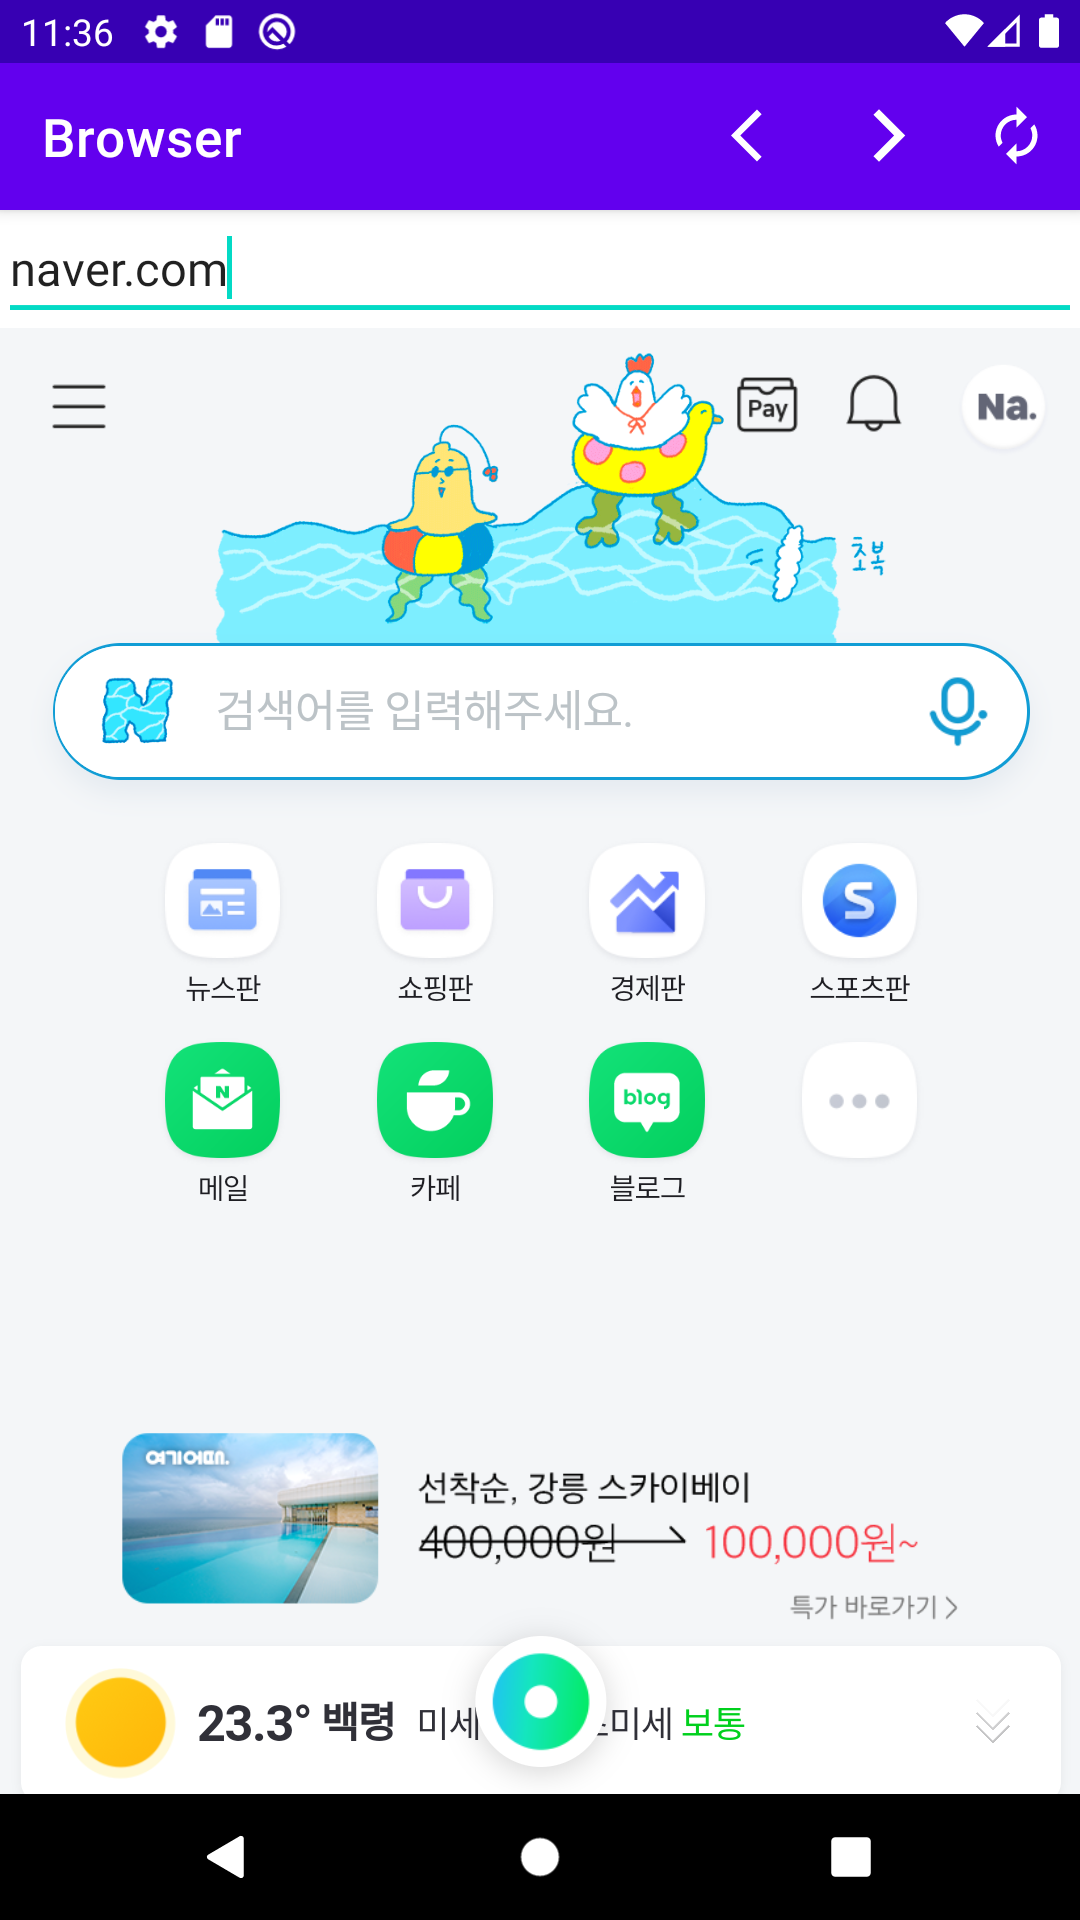
}완성된 브라우저의 모습 입니다.
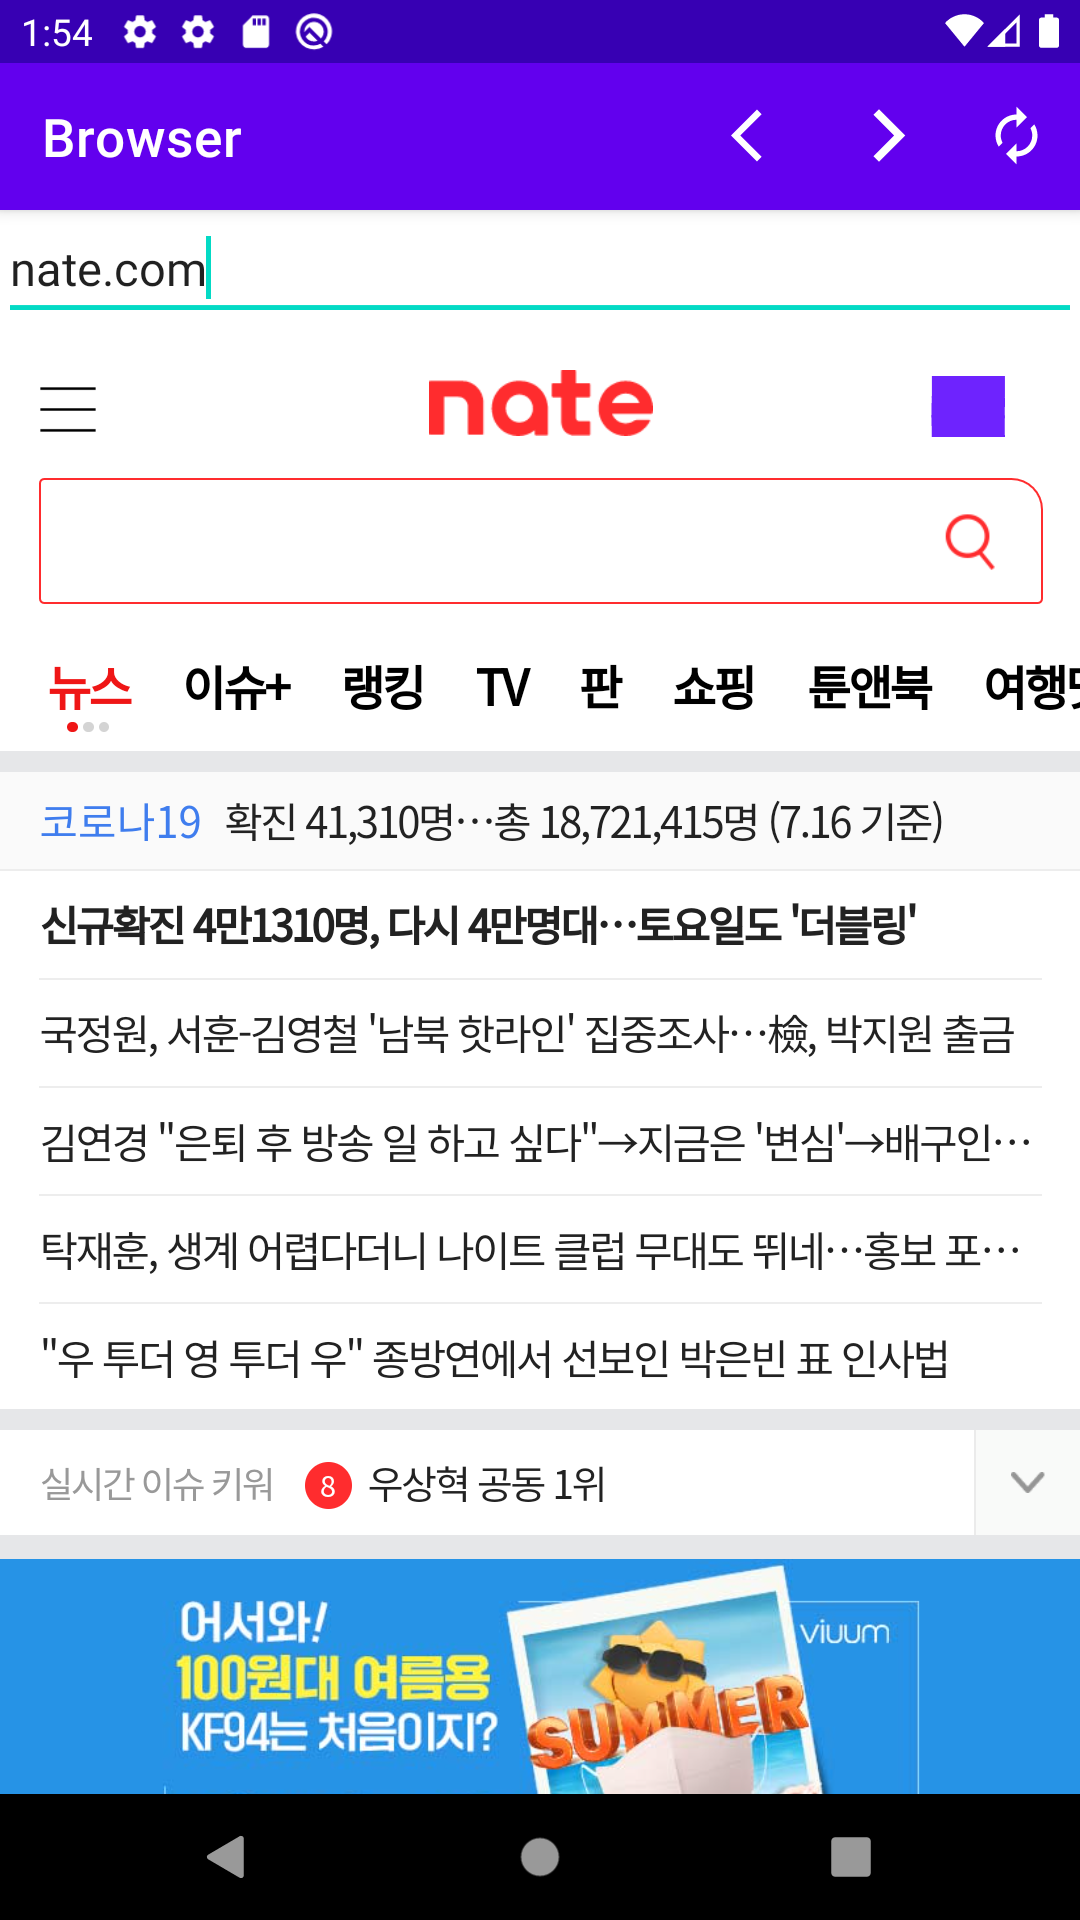
옵션 메뉴의 아이콘 제작은 벡터 그래픽을 사용했습니다.
벡터 그래픽은 다음 포스팅을 참고드립니다.
감사합니다.
https://soo0100.tistory.com/1906
안드로이드 아이콘 만들기(벡터 에셋)
https://soo0100.tistory.com/1040 안드로이드 앱 아이콘 만들기. 안드로이드 앱을 만들고 출시하기 전 아이콘을 만들어야 겠죠? 바로 하기처럼 말이죠. 안드로이드 스튜디오 에서는 아이콘을 편리하게
soo0100.tistory.com
'앱 만들기 > 안드로이드' 카테고리의 다른 글
| ERR_CREARTEXT_NOT_PERMITTED 에러가 발생했을때 (4) | 2022.07.23 |
|---|---|
| 안드로이드 아이콘 만들기(벡터 에셋) (4) | 2022.07.22 |
| 체크박스 형 기본 다이얼로그 만들기 (8) | 2022.07.19 |
| 기본 다이얼로그 박스 만들기 (8) | 2022.07.18 |
| 리스트형 기본 다이얼로그 만들기 (2) | 2022.07.17 |

댓글